Sunday, February 28, 2010

You’ve Got To Start Somewhere – A Traditional Paper Layout *gasp*

{Scheduled Post}

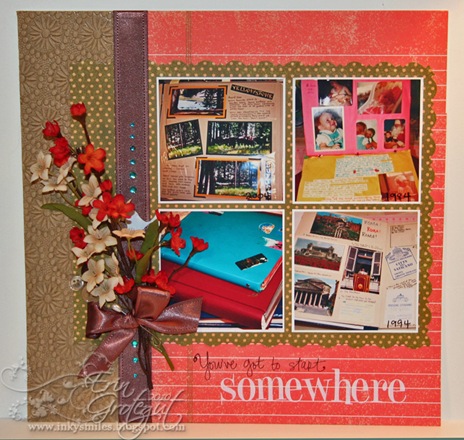
Ok so don’t pass out. LOL!  I PAPER scrapped last week.  Ay yi yi… I can’t remember the last time I seriously scrapped a layout with paper and traditional supplies… meaning non-digital. LOL!

This layout filled two purposes for me.  I needed a paper layout for one of the art contests at Creative University  and Erin Gudge (the OTHER Erin G) at Treasured Scrapbooking was holding a Guest Designer contest for her store and pointed me in the direction of the details for the contest… so off I went to Treasured Scrapbooking and found the details. 

Here are the requirements:

1)Your layout must be based on the origins theme  (meaning, the beginnings of SOMETHING)

2)You must use at least seven flowers (can be handmade, but patterned paper doesn't count)

3)You must use at least one button and one gem/rhinestone of some kind

4)You must use at least three patterns of paper (can be included in your flowers)

5)You CANNOT use a plain CS background (you can use it as support, however)

6)You need to use at least three photos


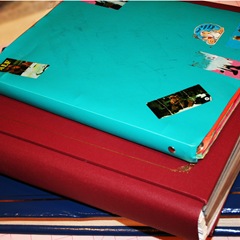
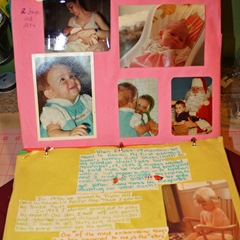
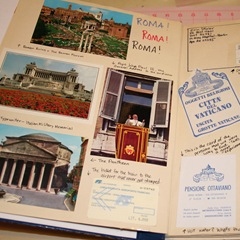
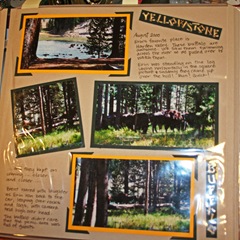
So I went to work dreaming up a sketch in my head, then transferred it to paper and then decided on my “theme” for the layout.  I decided on doing the origins of my scrapbooking.  I pulled out a few of my old scrapbooks and snapped some photos of what was in them.  It was neat to see how I’ve changed over the years.

Here are the photos:

 IMG_6775cropped IMG_6776 cropped

IMG_6812cropped IMG_6808cropped2

You can see how my scrapbooking has evolved over the years.  The top right photo is of a scrapbook I made in 1984.  The bottom left is from a “scrap” book I made in 1994 and the bottom right is from 2004.   I combined all these layouts in today’s style of layouts (for me). 

Look closely.  Can you see the hidden journaling?

TSRevampMarch2010web1 
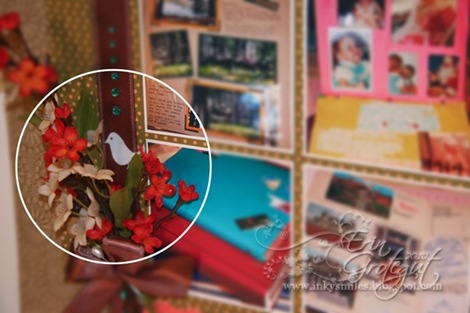
And the hidden birdie?

TSRevampMarch2010webZoom

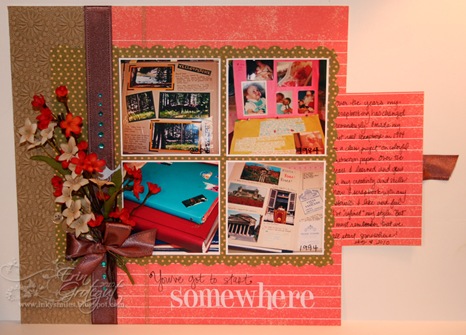
Ahh… there’s the journaling.  Tucked neatly behind the photos with a ribbon pull tab that’s wrapped around the back of the layout.

TSRevampMarch2010web

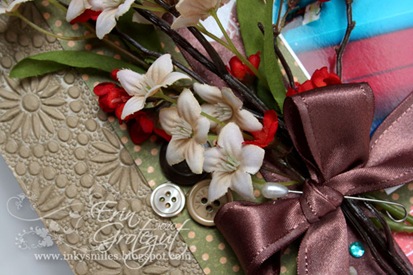
TMemoriesGDMarch10close

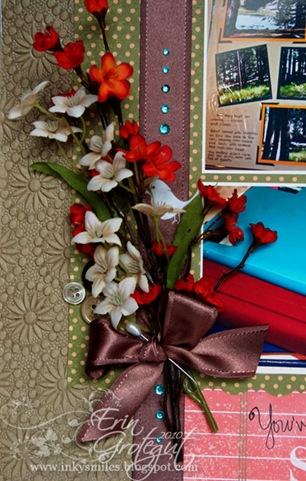
TMemoriesGDMarch10sideclose

I go home from Creative University today… Can’t wait to share the photos and fun stories and artwork!!

~Inky Smiles!


Supply List:
* I used a variety of odds n ends papers that I had on my desk. I had already cut off the manufacturers labeling… sowwy…. The embossed paper on the left hand side is a VERY old “India” paper from Provo Craft.  I LOVE that stuff. 

* Buttons came from my dresser… you know those extra buttons you get with new clothes? Yup… found  a way to use them and now I hope that I never lose a button from my fav shirts.

* Ribbon – STampin Up,  Rhinestones – Kaisercraft, Flowers – Michael’s floral department, Birdie Rub-on – American Crafts

Thursday, February 25, 2010

Scrap My Scraps Challenge II - Players Needed

{Scheduled Post}

Hey friends!

Remember when I did the Scrap My Scraps challenge last year?  We had some fabulous fun with that one and I wanted to do it again, but haven’t really dug into my scrap heap quite yet.  However, I made a card recently using some paper that I was not “overly fond of” and have gobs left…

Here’s the card with some snippets of the paper on it:

SSD013Web

What you also don’t see is the purple collection that came with it.

But, if you’re one of the lucky few who want to do this project with me you will get to see the purple collection soon enough :)

Here’s how this game will work:

1)  You leave a comment and tell me if you’re interested in playing.   Then email me with your mailing address.  Please do not leave your address in the comments section.  I have enough papers for 6 {SIX} players this round.

2)  You create some items using the papers that I send you (see #3).   I am only sending papers this time, no embellishments, so the sky is the LIMIT on what you do with this paper.

3) You must use ALL (meaning each piece) of the papers on at least one or more projects which can be cards, layouts, altered something or other, whatever… as long as you use at least 50% of the paper that you receive :)  You must use EACH piece of paper somehow and each piece must be visible.  :P  This does not mean you have to use all the pieces on one card… just somehow show something using each of the pieces of papers.

Your packet will contain 6 {SIX} pieces of paper all measuring about 4.25” x 5.5” or so.

4) I will mail out the packets after I return from Creative University around March 4th or 5th.  You will have 2 weeks to put together your projects.

5)  Please email me photos of your projects and I will post them on my blog.  After they are posted on my blog with the group, feel free to post them on your blogs as well. :)

So that’s it… pretty easy… just use the papers I send and have fun doing what you want with them!

~Inky Smiles!

Tuesday, February 23, 2010

Skipping Stones Design Sketch Tuesday: SSD013 Sweet Birthday

Happy Tuesday!  Today while you all are having fun reading blogs and surfing the web I am at work slaving away on corporate taxes and month end accounting… and daydreaming and being excited because I’m off to Spokane in the morning.  Stacey is going to pick me up and we’re going to have some fun in Spokane before heading to her place further north and then it’s Creative University Friday through Sunday! WAHOO!  I am SO STOKED and ready for a weekend of fun with the GIRLFRIENDS.  I have never been “away” at a crop and am both nervous and excited. 

What if they think I am a total dork?  What if I forget my brain? LOL!  

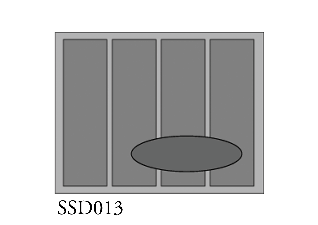
Anyway back on task…   Today we have our last sketch from Belinda Chang.

Here’s the sketch:

ssd013-

Oh my heck!  This sketch gives so much room for creative expression…. which I took full advantage of with my card…

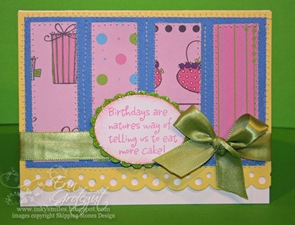
I had this paper pack that I bought from the Heidi Grace line from Fiskars called “Girlfriends”.  I was excited about it when I saw it online…. and then it showed up in my mailbox…. It looked like a Pepto Bismol bottle exploded. YUCK… A big muddy pinkish collection of papers that I thought was just so “bleck” and didn’t know what to do with.   So I started cutting it up  into smaller pieces thinking I would send it to my 4 year old niece to make cards with.  She loves all things pink.  (But normally so do I… except for this.. ) SO as I am cutting this “blecky Pepto paper” into small strips I am thinking, “hey, in a small dose it’s not so bad…hrmmm”.   So I pulled out a few strips and messed around with them. 

Here’s what I ended up with…. and it works for the sketch… and I don’t mind it in small bits.  I used the hilarious set “Buns n Crunches” from Skipping Stones Design.  This stamp set is a riot.

SSD013Web
I was going to go all girlie with this card and thought about using a different Skipping Stones set, but in honor of my birthday coming up I thought I would do a fun and cheerful birthday card.  I like birthday cake…. a lot.  We don’t eat a lot of cake around our house, but birthday cake is something else… mmm.mmmm good.  There’s nothing better than a good rich chocolate cake with thick white buttercream frosting and a glass of milk. YUM.

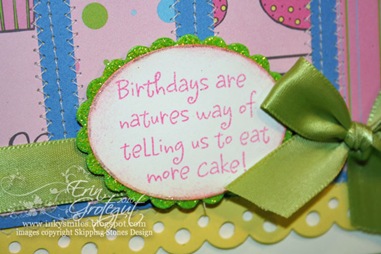
SSD013SentimentCloseweb 
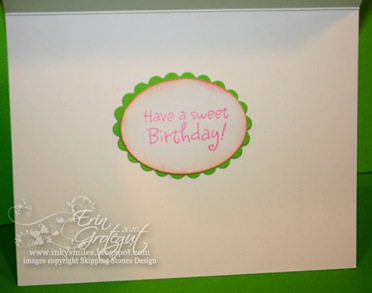
I layered up the slices of paper and stitched them to the base.  I went a little wonky between the lines, though and my needle wandered… oops.  The edge is border punched with a Martha Stewart punch and I wrapped some good old Wmart ribbon (Offray) around the base to tie (pardon the pun) it all together.   I glittered the edge of the sentiment with a glitter pen and used some green Doodlebug glitter on the scalloped mat.  I even did the inside again…

SSD013InsideWeb

Hope you all enjoyed today’s sketch and card!  Have a marvelous week!  I have a couple of scheduled posts that you will see while I am gone playing at Creative University.  Oh, and there’s another round of “Scrap My Scraps” coming up!!  Watch for it!

~Inky Smiles!

Thursday, February 18, 2010

Hope for Haiti Auctions Are LIVE

Hey friends! Just a note to let you know that the Hop(e) for Haiti card and gift auctions are now LIVE. I have listed all the links to each individual auction in the top right hand side of my blog's side bar for your convenience. Simply click on the links to view and bid on these treasures. Let's see what we can raise for the people of Haiti!

Thank you & Inky Smiles!

Tuesday, February 16, 2010

Skipping Stones Blog Hop(e) for Haiti & Sketch Tuesday

I feel so blessed to get to be a part of this fantastic service opportunity! I am sure many of you have shed tears for those who have been affected by last month’s tragedy in Haiti. Thank you to Heather for putting this together and letting us each play some small role in this! It’s my hope that we can help to make a difference and bless some lives in Haiti.

Welcome to Skipping Stones Design’s Blog Hop(e) for Haiti.! If you just happened upon my blog today, you’ll want to go back to the beginning at Skipping Stones Design. You should have arrived at my blog from Karen Giron’s blog.

As a company, we wanted to do something to give back to the people who have been so devastated by the Haitian Earthquake. So, we thought what better way than to invite some of our favorite stampers to join us in this cause. Each card you see on the blog hop today will be auctioned on E-bay with all proceeds going to the Red Cross in support of the Haitian Relief Effort (please check the Skipping Stones Design Website for the link to the auction). 100% of the proceeds of the Ebay auction and $2.00 from every stamp set purchased from February 16 - 22 will be donated to the Red Cross.


*************************************************************
Here’s our lovely sketch for this week: ssd012-

I am having a serious love affair with the Dandelion Dreams stamp set and just HAD to use it again this week. Look at all the cool ways I’m showing you to use this set! *grin*

dandelion-dreamsmarked

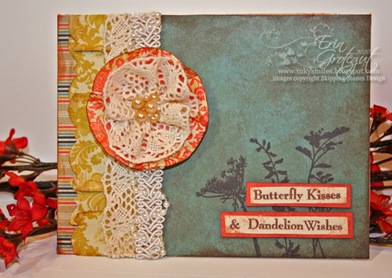
Here’s my card. It’s vintage-y and lacey and distressed. I’ve been having a lot of fun playing with lace and layers lately. One of these days I would like to try my hand at some serious “vintage style” altering. Mmmm, mmmm, mmmm!

SSD012HaitiHopeweb

So for this card I used some 7 Gypsies coordinating paper from their Hudson Valley 8x8 paper pack. I found it on clearance at Archiver’s last week. I love the elegant prints and patterns in this pack! I also picked up a Tea Dye distress ink from Tim Holz. Talk about distressed luuuuuurve!

The background paper started out a plain blue-green color and I inked it up with some of that delightful Tea Dye distress ink. The photo is slightly deceiving. It’s more of a light brown color and is very subtle.

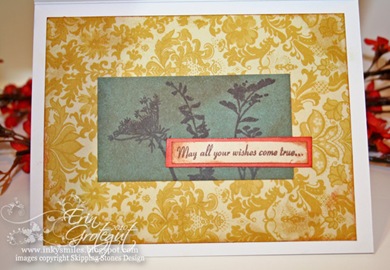
I don't normally do a lot to the insides of the cards other than sentiments, but I did on this one:

SSD012HaitiHopeInsideweb

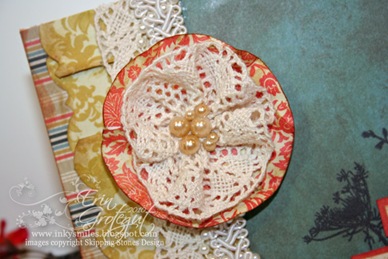
Anyway… I created a paper ruffle on the left side of the card and layered up some loveliness with some crocheted lace and beaded trim and topped it off with a handmade flower. I piled several pearls from Kaisercraft into the center.

SSD012HaitiHopeflowerzoomwe

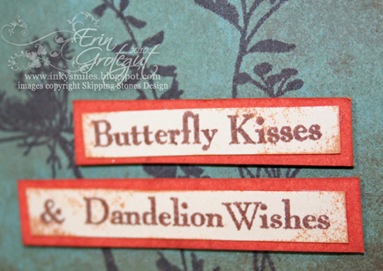
The silhouette flowers are stamped in CTMH Chocolate brown ink and I layered up the sentiments and popped them out with American Crafts foam tabs.
SSD012HaitiHopeSentiZoomweb

Thank you for stopping here at my blog! I hope you enjoyed your stop! From here you will be hopping over to a very special guest blogger on this hop, the delightful and talented:

Christi Milliken of Blessings on Paper

~Inky Smiles & Happy Hopping!

P.S. - How about a prize? In addition to the fabulous eye candy, we have decided to hide a prize somewhere along the hop! There will be a few pre-release sets up for grabs hidden along the blog hop. The fun part is...we're not telling you who it is! So as you hop, make sure you leave comments on every post so you have a chance to win!!

Sunday, February 14, 2010

Follow Up to Bling, Jiggle, Bling, Bling: More Bling

I know I said I would show you more Bling a long time ago. I’m just now getting around to it. I’ve been working on things around my house (hello life), SSD projects, my CU roomie gifts and packaging up the charms I showed you previously and getting things ready to go to Creative University in a couple of weeks. OH I also made a fun PAPER scrapbook layout that I can’t show you until after CU as well. I’m entering one of the art contests with it… can’t share just yet. tee hee. I know, I’m awful!

I can’t show u the roomie gifts yet, but I will schedule a post for while I am gone so that the roomies don’t see them ahead of time. :)

In the meantime, here’s a little of what I’ve been working on:

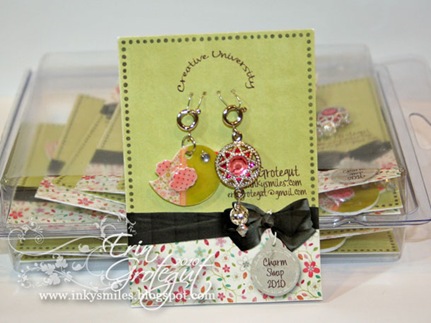
CUCharmSwapPackagingweb

These charms were SUPER fun to make and I needed a cute way to “present them” cuz you know, it’s all about the packaging, right? haha! Anyway… I didn’t want to spend hours and hours cutting and glueing so I created these little cards in PSE 7, printed them out on super heavy weight card stock (base weight from Gina K Designs). I poked holes with my paper piercer and strung some 24 gauge wire thru the holes to attach the charms. Worked like a charm, pardon the pun. I think I need to work on my printer colors/calibration or something because that ribbon is supposed to be a rich chocolately brown, not almost black.

Well now that we’ve got some charms we’re gonna need something to attach them to…. At least, that’s what I thought as I created some for myself. I didn’t have a “blank” charm bracelet so I figured I’d make one for myself.

Here’s what I came up with:

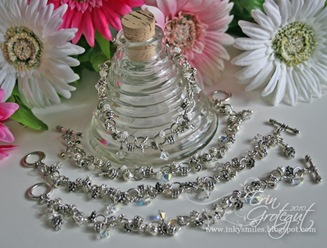
IMG_6661web

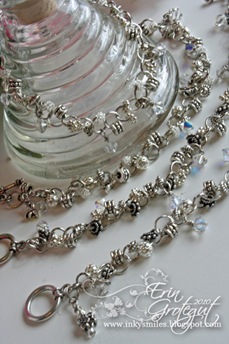
IMG_6645web

IMG_6659web

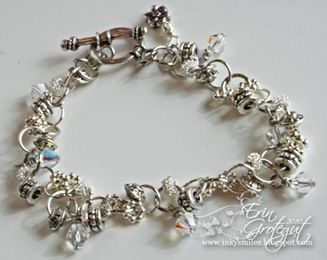
These bracelets are full of all sorts of silver colored (not sterling silver) jingle bling jingley bits and baubles. I’ve sold several to some CU attendees and will be offering them in my Etsy shop once I decide on a name and finish setting it up.

The bracelets are made in 7”, 7.5”, and 8” lengths and they can be custom fit as well. Each bracelet has at least 7 clear Swarovsky crystals (2 different types) on it. They are finished off with a giant decorative toggle attached to the bracelet with 2 jump rings for security and a dangling charm that coordinates with the bling on the bracelet. They can be worn alone or with charms attached. No two are exactly alike. :)

I have two that I wear a lot. One has charms on it and one is simple , as it is.

Hope you’re having a bling, jingle, bling, bling day!

~Inky Smiles

Saturday, February 13, 2010

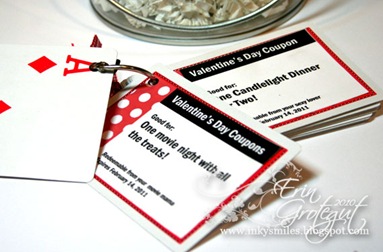
Happy Valentine’s Day – Playing Card Coupon Book

{Brent has been unsubscribed from my blog (for now) and has sworn not to look at the blog until Sunday.. hahaha!  }

So I wanted something creative yet simple to do for my sweetheart for Valentine’s day this year.  I am not a big expensive gift person on Valentine’s day.  I think Valentine’s day is a good day to show the people you love, whether you’re single or married, that you DO love them.  You can write a nice letter or do small acts of service, etc. 

While perusing blogs this past week I came across a super darling new to me blog.    Tatertots & Jello is a fabulously cool blog with loads and loads of crafty goodness on it.  I’ve been just oogling over the fun things she’s been making!  Jen posted this darling little Valentine’s day coupon book on her blog.  She made it in MS Word and even provided a download so we could all make our own!  How saWEET is that?  THANK YOU, JEN!   So I decided I HAD to make one for my sweet hunny hunny and set off to the Dollar store to find some cheap-o playing cards on which to glue my little cards. {They had TWO packs for a buck! saWEET!}

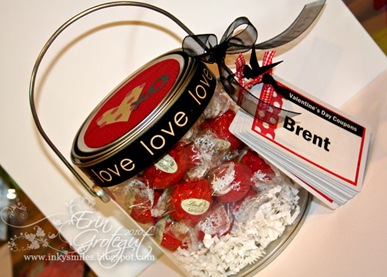
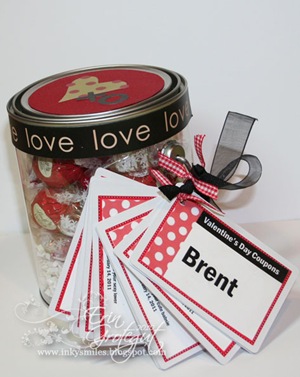
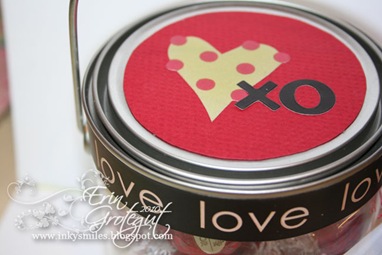
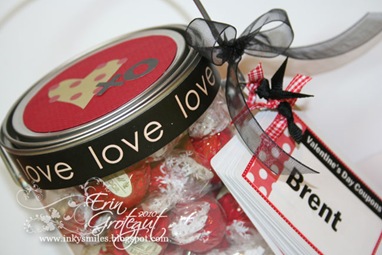
I have a ton of these little quart size pails that I bought at Christmas time from Joann’s thinking I’d put neighbor goodies in, but never got around to and thought that one would make a nifty little container for some Valentine’s goodies.  Brent LOOOOOOVES those Lindt milk chocolate truffle ball thingies so I picked up a bag and tossed them in with some fancy shred.. They look scrumptious in there… I could have left it at that, but I like to bling things up a bit… but it had to be appropriate for a man and I had to contain myself. LOL!  So I pulled out the scrap papers I’d been playing with for the cards I posted previously.  I had plenty of stickers and paper left… a little circle on the top with a couple of stickers and then a nice black sticker wrapped around the bucket. Perfect!

The coupons are for loads of different things, some treats and goodies and others mostly things to do together or things he likes to do. {A road trip, movie night out with all the treats, a couple of backrubs, some unmentionables.. haha, candlelight dinner for two, a trip to SubZero ice cream, etc.}   I printed up the sheets from Jen {after personalizing for my hunny}, cut out and glued to the cards {use something STRONG - glue sticks won’t work for this one}, punched holes in the corners and strung them on a big round ring to which I tied some fun little ribbon scraps.

I’ll stop blabbering now and share my little present. :)

IMG_6931web IMG_6944web IMG_6933web IMG_6934web

IMG_6948web

We’re headed to the symphony on Saturday {Dvorak’s New World Symphony} and then we’re going to have a nice quite homemade lasagna dinner at home on Sunday.  I think I might even pull out our china!

Are you doing anything fun this weekend?  What does your family do for Valentine’s day?  

~Inky Valentine’s!

Supply List:
* Dollar store playing cards
* Template from Tatertots & Jello (Free)
* Lindt chocolates
* Quart size pail
* misc papers, stickers, and ribbons
* fancy shred
* Adhesive
* Metal ring

Friday, February 12, 2010

Valentine’s Card Blitz!

Hey friends!

I was working on some Valentine’s projects yesterday in hopes of getting everything ready to give this weekend.  I have a fun little something for my sweetheart all figured out and nearly ready to go, but I can’t show it because he reads my blog.  (I should unsubscribe him so he can’t see ahead of time… hehehe!)

I needed some “quickie” type cards and didn’t want to have to think about or dig through embellishments and whatnot to come up with something so I pulled out a VERY, VERY old kit from Pebbles in My Pocket… I think the price tag on the kit had 2005 as the date. LOL!  I have a slight dislike for stickers.  Not quite sure why.. I just really haven’t liked using them in my crafting/scrapping, but I have TWO Crop N Style PSB books FULL of stickers… one is misc stickers and the other is letter stickers.  I challenged myself to use up some stickers on this project.

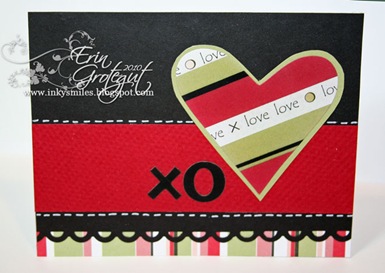
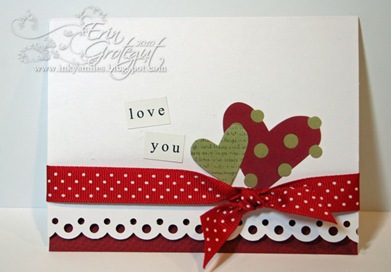
SO without further adieu…. here are my “Quickie Valentine’s Day Cards” made with leftover scraps and stickers.

This is the first card I made.  Just adhered a strip of striped paper  to the inside of the card and punched the top side of the card with a border punch… used a white pen to stitch around the red cardstock.

IMG_6924web

This card was made with loads of scrap strips of paper.  I adhered them to a piece of cardstock and then trimmed the whole thing to a standard size card front.  It’s kinda crazy and fun.

IMG_6925web

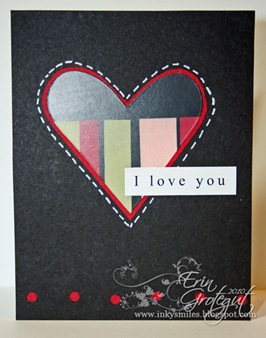
This card is my favorite.  Simple, Sweet, to the point.

IMG_6923web

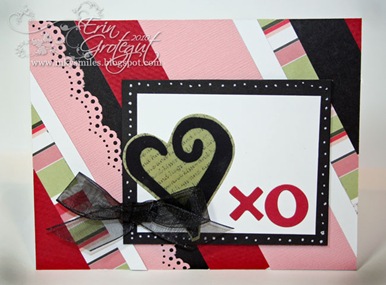
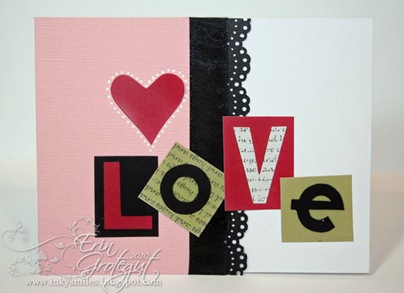
This was a fun one. The letters and backings are all stickers.  I wrapped a piece of black organdy ribbon around the punched black strip.  The heart is also a sticker and I dotted around it with a white pen.

IMG_6922web

Here’s a wonky little simple card.  I stuck the sticker heart on a piece of green textured CS and used a white pen to stitch around the heart.  The bottom holes are punched with a Crop O Dile.

IMG_6928web 
Hope you enjoyed this little mini blitz! 

~Inky Valentines Day!

Wednesday, February 10, 2010

Special Announcement: Hop(e) for Haiti Blog Hop

A little bit of special digi art for a cause I am excited for:

SSDBlogHopInvite-HopeforHai

On Tuesday, February 16th, 2010 we will launch a very special blog hop...

During Hop(e) for Haiti we can all work together to help raise money. The money will be donated to the Red Cross to help those still struggling to get basic needs met after surviving the devastating January earthquake in Haiti.

On February 16th we will start our blog hop at Skipping Stones Design and visit the blogs of our Stamp Tramps Design Team and MANY specially invited guest bloggers. You are in for a treat with our special guests!

During the week following Feb 16th you will have a chance at winning fabulous prizes including pre-released stamp sets, as well as bidding on some of your favorite artists' work on our special Ebay auctions. (Links will be provided.)

100% of the proceeds of the Ebay auction and $2.00 from every stamp set purchased from February 16 - 22 will be donated to the Red Cross. Please check back at Skipping Stones Design for updates.

I hope to see you hopping along with us next week!

~Inky Smiles!

Tuesday, February 9, 2010

Skipping Stones Design Sketch Tuesday: SSD011

Happy Tuesday ya’ll!

Today we’re playing with another fun sketch from  Belinda Chang Langer of Bleu Bella Paperie.

Here’s today’s sketch:

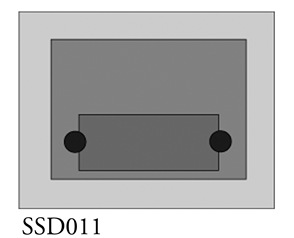
ssd011-

MMMM… nice and simple… gives me lots of room to play.  And very few rules to break, if any…  well, I did take the liberty to leave off one of those black dots…

I am so totally head over heels in luuuuuurve with Skipping Stones Design’s Dandelion Dreams stamp set that I had to use it again today. 

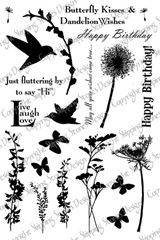
Here’s the stamp set again:

dandelion-dreamsmarked

Isn’t it just DIVINE??  Oh my goodness.. I just want to stamp silhouettes for the rest of my life! :) There’s something just so elegant and romatic about a black silhouette.

The card I made today really threw me for a loop. I had this IDEA in my head and was trying to get it to get on the paper the same way I saw it in my head… it took a while and took some thinking, trying, and shredding before I got what I wanted.

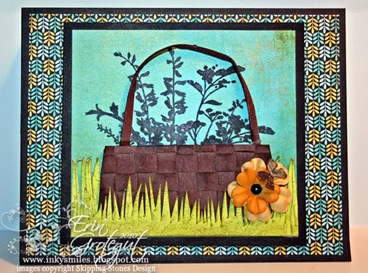
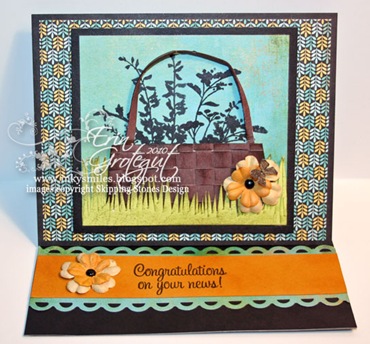
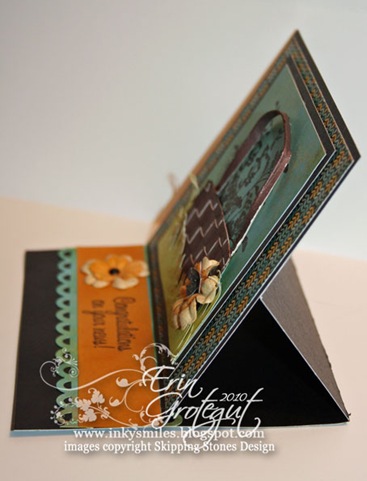
I wanted this card to be somewhat in the “Primitives” theme.. to have kind of an old country feel to it.  I created a basket.  I even wove the paper strips. Perfect!  Then I added a handle.

Ok, now what?  LOL!

I built the card around the basket and the idea that I was DEFINITELY going to use the Dandelion Wishes stamp set.  I had more Basic Grey cardstock to use up, but hey, it’s not PINK or YELLOW so it’s sorta new…hahaha!  I’m seriously trying to use up my stash cuz I’m doing some serious drooling on some new stuff.

Here’s my little piece o’ art for today:

SSD011fullweb

SSD011insideweb

SSD011sideweb

SSD011Zoomweb

SSD011insidezoomweb

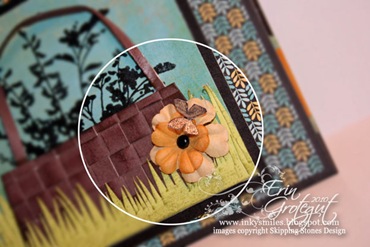
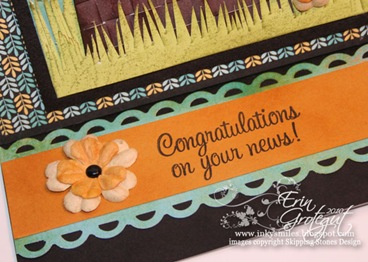
The flowers, butterfly and sentiment (which comes from Cupcake Cutie, by the way) are all stamped in black StazOn ink.  I needed a good, thick, rich ink to stamp the flower silhouettes in and didn’t want to emboss this time.

I stamped one of the butterflies onto black cardstock and carefully cut it out and then colored it with a Sakura clear glitter pen.  On black cardstock it “glitters gold”.. kinda neat!  Then I adhered it to the Prima flower with the tiniest dot of Liquid Glass and bent the wings up.   I know that Primitive stuff doesn’t really have a lotta glitter… but, well, I needed it bad… like some people need Diet Coke or Pepsi… I need glitter.. it runs in my veins.

Oh hey, there’s the other black dot… it landed on the inside of the card and I just left it there on those flowers cuz it looked nice :)

~Inky Smiles

Tuesday, February 2, 2010

Skipping Stones Design Sketch Tuesday: SSD10

Can you believe we’re 10 weeks into Skipping Stones Sketches?  Wow, time is FLYING by and I’ve been having a blast with all these fantastic stamps and sketches to stretch my imagination.  So fun!

Our sketches this month come from  Belinda Chang Langer of Bleu Bella Paperie.

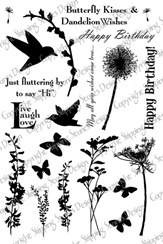
The last batch of goodies from Heather included this AWESOME set of stamps, Dandelion Wishes.  I LOVE, LOVE, LOVE the silhouette images, especially the floral stems.  Working for a landscaper for the past 10 years this is the ONLY way I LOVE dandelions :)

Here’s the stamp set:

dandelion-dreamsmarked
And here is our first sketch for February: ssd010-

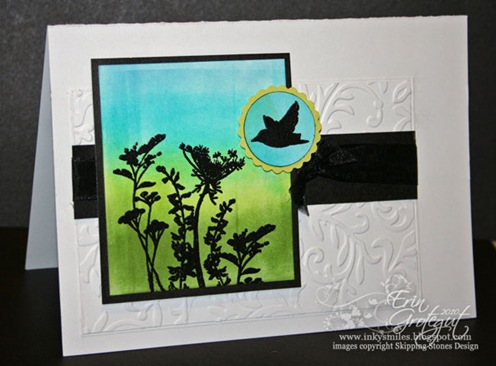
For this sketch I decided to challenge myself a little by not allowing myself to use any patterned paper but still have texture and color and depth in the card.  I wanted to also use the brayering technique that I am not very comfortable with and work on getting more comfortable with it.  

Here’s what I came up with:

SSD10Web

Disclaimer:  Please forgive the cruddy photography.  It’s late at night and difficult to photograph in here.  I procrastinated all day and didn’t get my card done until nearly 11 pm… ay yi yi.

This was so fun to make!  I took some white cardstock and used it as the base.  This card is 5x7”.  I needed to enlarge the standard card because I created the focal pieces first and they turned out a little larger than I’d anticipated… it’s all good.

I used my Score-Pal to score an offset rectangle and then cut a piece of white cardstock to fit just inside the scored/embossed lines.  Mr Cuttlebug helped add some texture when I ran that little piece of cs through with an embossing plate and adhered it just inside the embossed rectangle.   The embossing folder was not quite big enough to emboss the entire piece, so a little fanagling was in order…. *grin*  

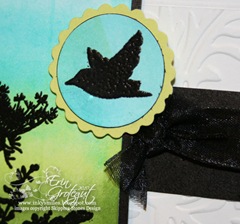
It is difficult to see, but there is a black organdy ribbon tied around the black cardstock strip and tied in a little knot just below the popped out hummingbird.

IMG_6760web
For the focal image I brayered 4 colors of ink using reinkers and baby wipes.   There are two greens and two blues.   I love how the colors are graduated.   The images are all individually stamped in Versamark and then heat embossed with black embossing powder.   For the birdie, I brayered some blue ink onto cardstock and then cut out and mounted with Nestabilities dies.  The hummingbird is embossed and the whole image is popped up with American Crafts foam tabs.
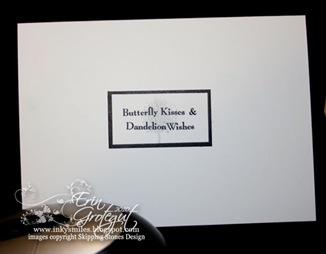
I don’t usually show insides of my cards, but I love the sentiment in this one.
SSD10insideweb

IMG_6766web


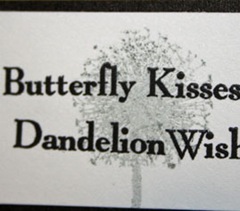
The dandelion is  2nd generation stamped in grey ink and the sentiment is stamped in archival black ink. 

Tomorrow (err today when you read this) is another long day at work.  Hope you have a marvelous Tuesday!  Don’t forget to check out the other DT members artwork! (Links in the right sidebar.)

~Inky Smiles!